The Drip Acclimation Protocol
Because freshwater invertebrates maintain delicate osmotic balances, sudden changes in total dissolved solids, general hardness, or acidity can induce premature molting stress. To ensure your new colony thrives from day one, you must execute the following precision drip acclimation protocol.
Step 1: Package Inspection & Temperature Equalization
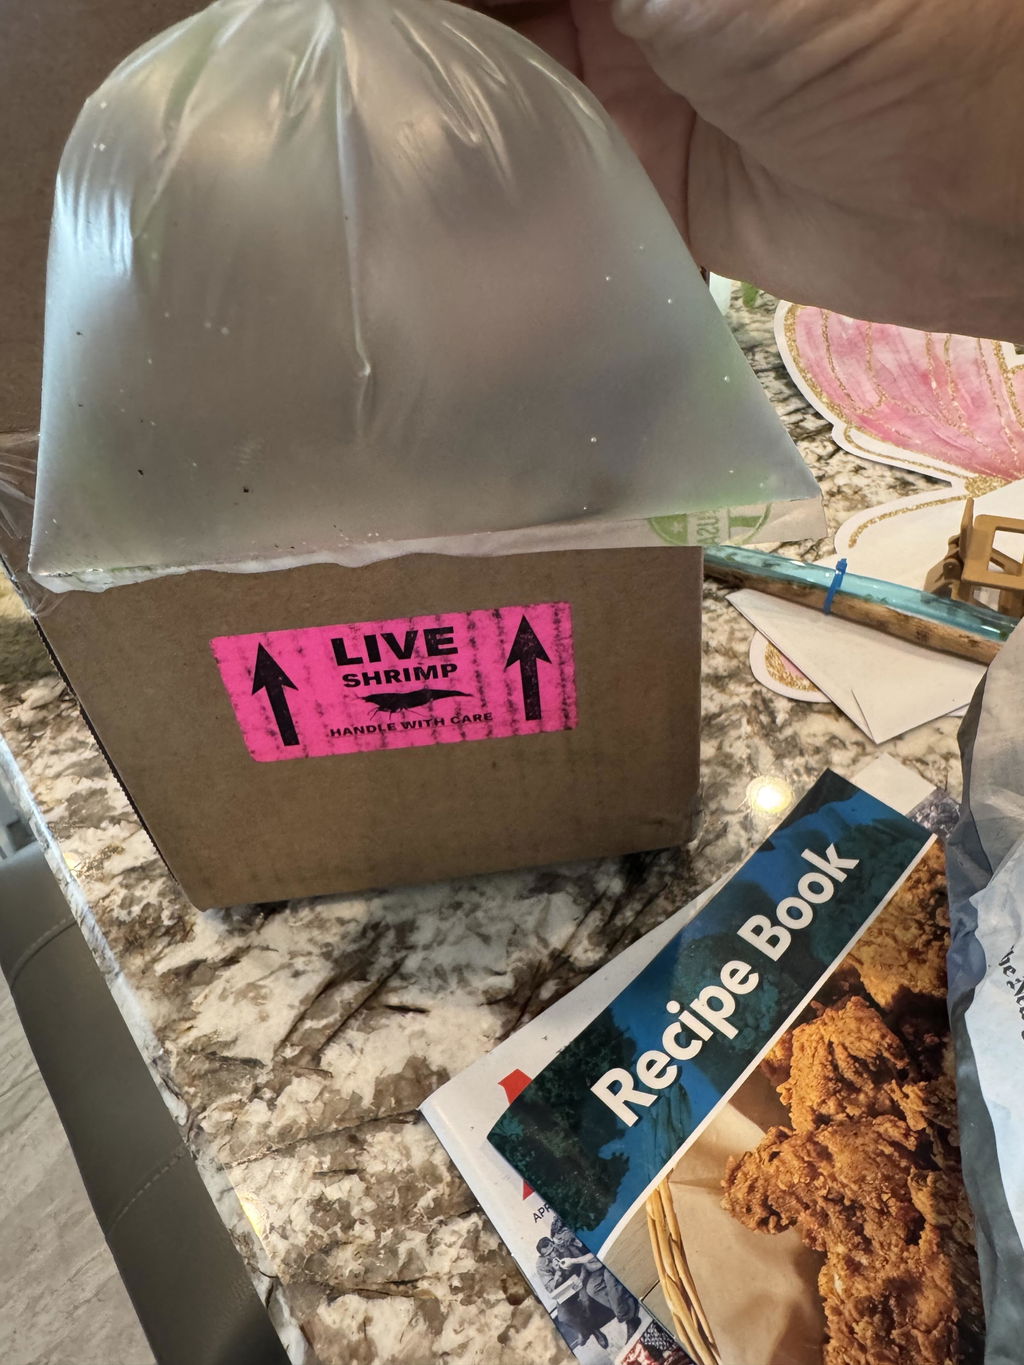
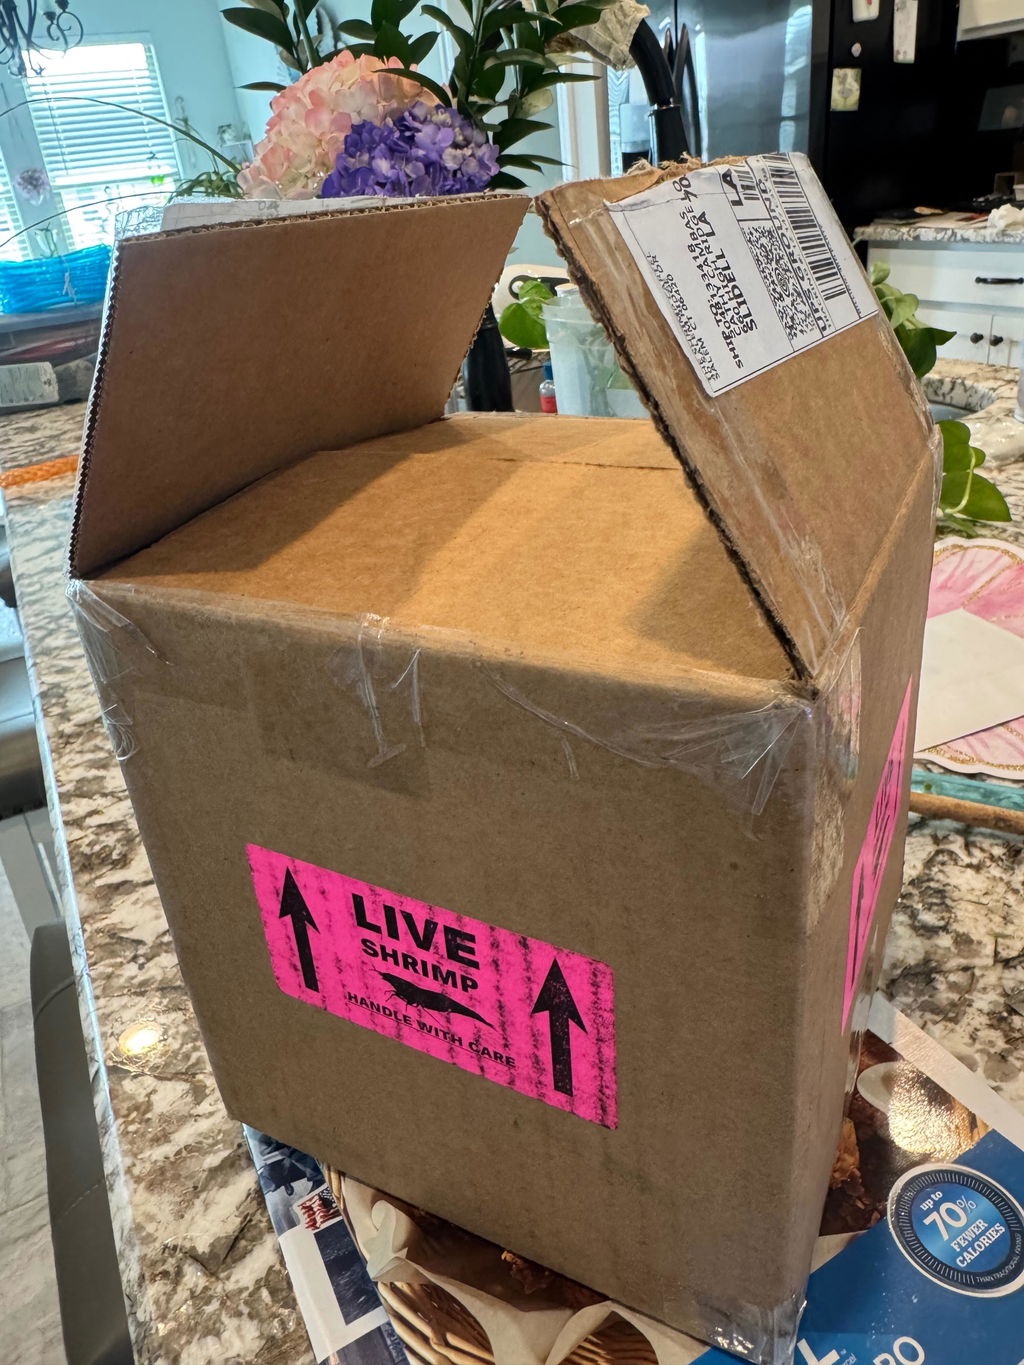
Inspect the shipping container immediately upon delivery. Confirm that the specimen bag remains sealed and intact.
Place the bag on a table near the tank where the shrimp are going to reside for twenty to thirty minutes. This allows the internal water temperature inside the bag to gradually match your room temperature without altering water chemistry.
Step 2: The Drip Acclimation Setup
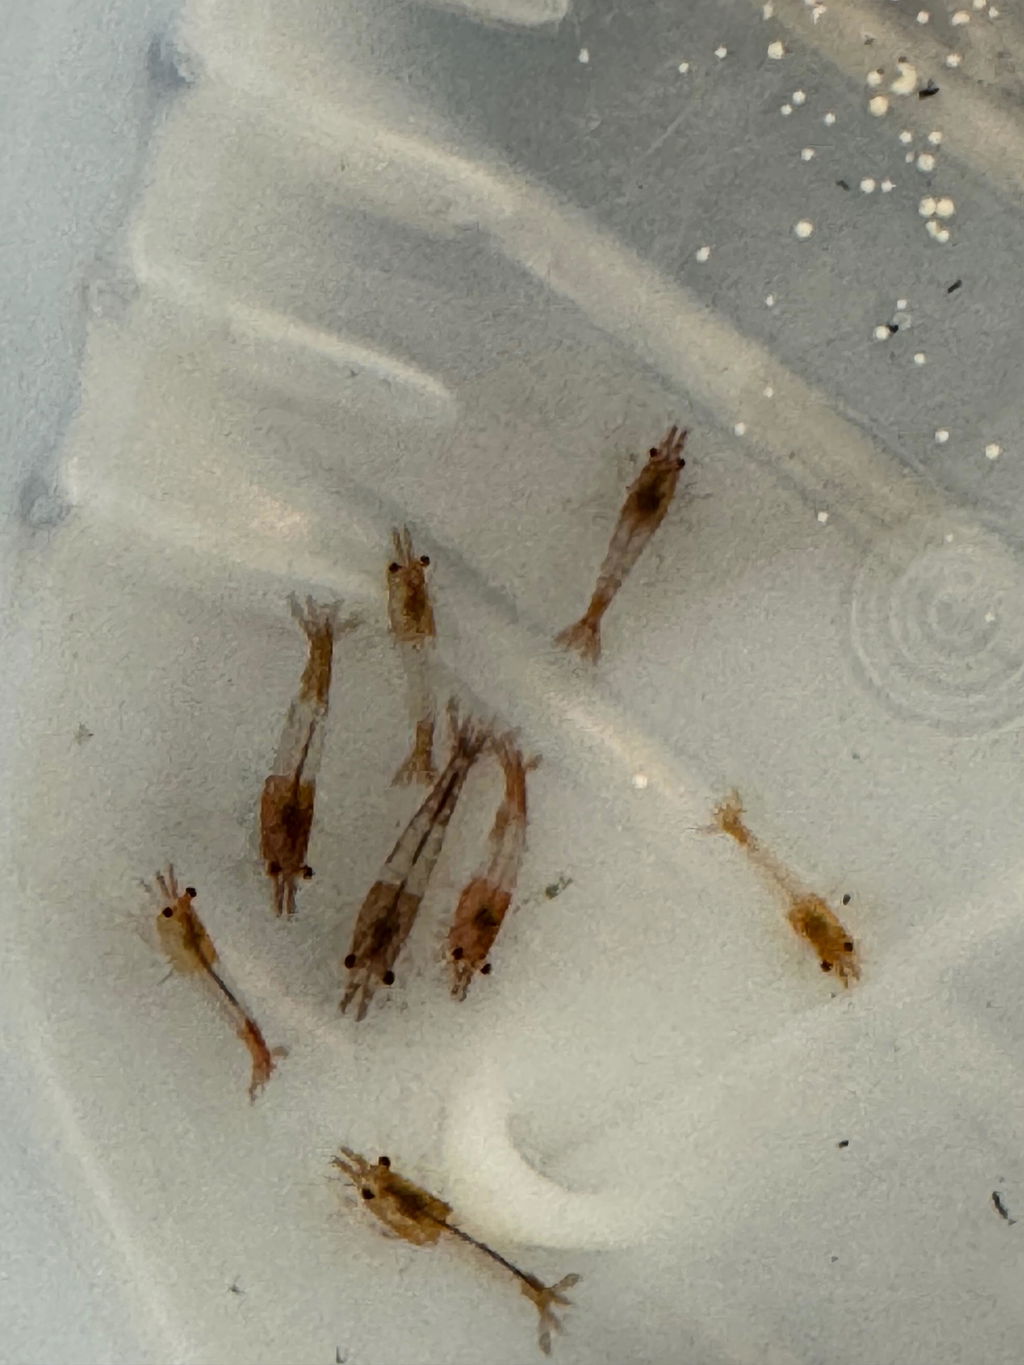
Carefully open the transport bag and transfer the shrimp along with their transport water into a clean acclimation container or small bucket.
System Setup Details
- Fasten standard airline tubing to your aquarium using a suction cup or clamp.
- Attach an adjustable control valve to the lower end of the tubing, or tie a loose overhand knot in the line to control water flow.
- Start a siphon from your display aquarium into the acclimation container.
- Calibrate the flow to a steady rate of two to three drops per second.